Touchpix App
Adding your Overlay, Intros and Outros to Touchpix
We always recommend using tinypng.com to compress your overlay.png before uploading your templates to any software.
Touchpix
Static Overlays .png – You must use a desktop or laptop computer. This is assuming you already have your event setup.
- Login into your Touchpix account on touchpix.com
- Click on Designer
- Click on Templates
- Dropdown click on “slowmo-boomerang-video-animatedgif”.
- Pick from the template size you purchased.
- Click on “Manage Design”
- Click “Upload Overlay PNG”
- Browse for the overlay file
- Click “Upload”
- Click “Add to Event”
- Have a great event!
Touchpix Animated Overlays:
Must be done on the iOS device
- Download your animated overlay your computer.
- Go to https://icloud.com. Login and click on files. Upload the file there.
- Open the Touchpix app on your iOS device.
- Navigate to the menu (three stacked bars).
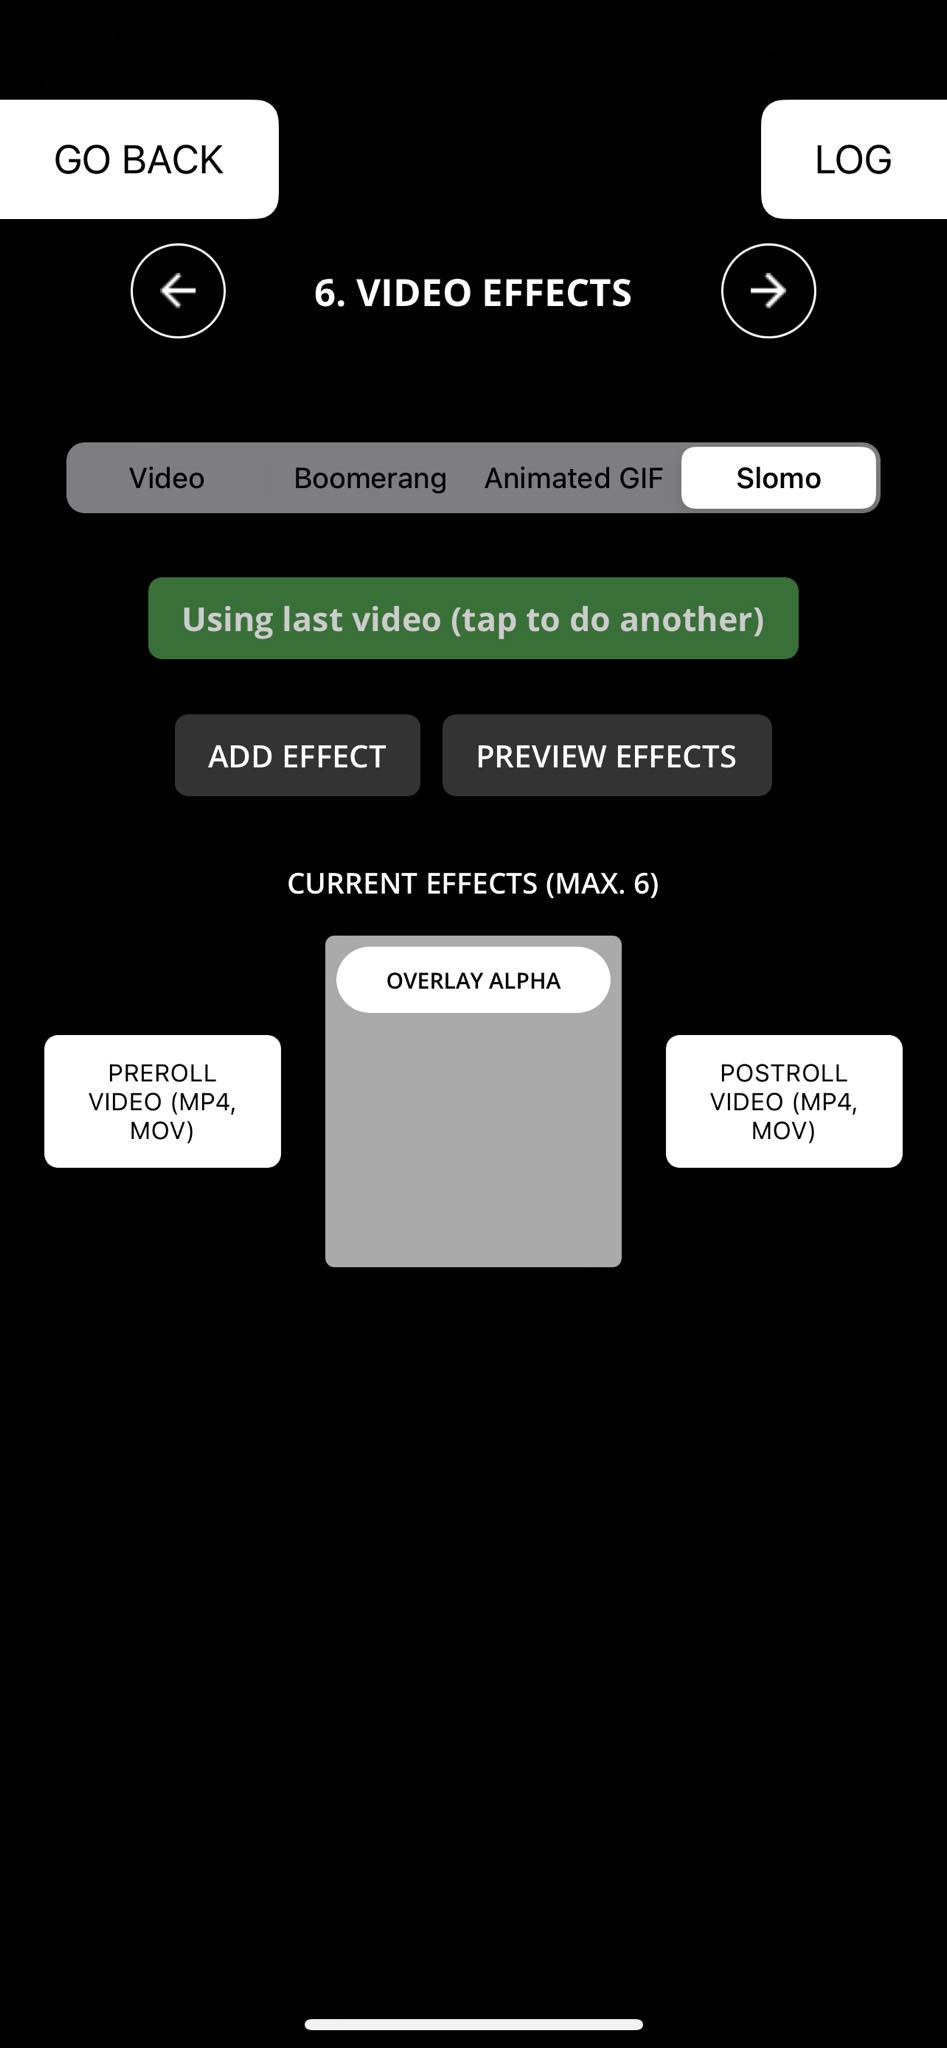
- Click on “Video Effects“.
- Choose “Slomo“.
- Choose “Overlay Alpha“.
- Select your file from the files app and apply.
- Have a great event!
Video Intros or Outros
- Download your video to the files app on your iOS device
- Open the Touchpix app on your iOS device
- Navigate to the camera tab
- Click on “Video Effects Creator”
- Place the intro into the “Pre Roll” and the outros into the ” Post Roll”