Free Graphics Editor – Edit Photoshop Files Free. A desktop or laptop is required. This feature will not work on mobile.


Instructions

How to use the editor

We build our templates with photoshop! We understand not everyone has a subscription to photoshop! We are so happy to annouce our integration with the photopea website! You can edit any template or graphic right in our editor above! Requires a desktop or laptop computer. 

How does this work?

This application is made to work like and edit photoshop files known as PSD. Within a few clicks you will be able to edit any PSD template we have in our storefront. Just look for the photoshop icon. 

  • Download a template from our store (see all templates)
  • Requires a desktop or laptop computer.  
  • Browse to your downloads folder and locate your file. We usually start the template name with PBG- or MT-.
  • Do a right click on the .zip folder and go to “Extract All”.  A new folder should pop up with your template files.
  • First, open the font.txt file. From there copy the link for each font and paste into an internet browser> after downloading the font file and installing it you will be ready to rock and roll with the psd file.
    https://photoboothgraphics.com/2018/02/22/install-fonts-windows-pc/ ‎
  • Now you are ready to edit the template! Click on File > Open > Find the templatename.psd file in the folder. 
  • You will find two layers in the layer pallet “—Hide Layers Above —” and “—Hide Layers Below —” make sure to turn these off first to ensure you do not have the sample lines and to make the template transparent for capture!
  • Once you have finished editing your template save as a png! File > Export As > PNG.

Helpful Tips

  • We like using blending options (AKA: FX or Layer Styles) for easy color changes. Color Overlays or Gradient Overlays is what is most commonly used.
  • Hex or RGB codes is what you will need to find for your color choices. A simple Google search will help find your exact color code.

TEMPLATE KEY

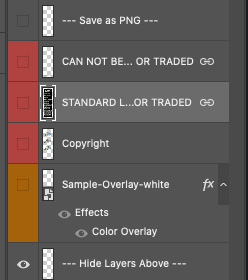
Below is a key of our layer styles that we use in Photoshop.

Green = Editable item
Red = Important info and layers that can not be deleted.
Orange = Elements
Violet = Frames and Photo Placements

If you run into issues send an email Including the following: File names, software, and what your issue is. Email the file to support@photoboothgraphics.com.

Need us to Edit the Template for you?

Visit www.photoboothgraphics.com/order

Saving your template

All our templates are saved as overlay.png. We only offer background.jpg when we do green screen events.

**Note** In photoshop make sure that the photo cut outs (inside the frame) has a checkerboard. If not it will not be transparent. Simply turn off the layers by clicking on the eyeball to the left of the layer to hide it. If you see a gray or black box in the background that is called “Photo/picture placements”. Hide this layer.

Best practice to save in photoshop for overlays is to use File > Save As >  PNG > Smallest File Size (Slowest saving).

If your overlay file is larger than 2mb use a compression tool such as TinyPNG.com.

If you require a background.jpg please download them here free: background.jpg


Turning off Layers

We have layers that need to be turned off before you can save out as a png. Use the “eyeball icon” on the left side of the layer to turn off or on the layers you need to use.

Layers to hide:

  • At the top: Sample line, Copyright, Standard License, and Can Not be resold-gifted-or traded.
  • At the bottom (below the base): Coordinates and Picture Placements

Save as a png file. Our templates are used as “overlays” or aka “image mask”. See above section for more details.

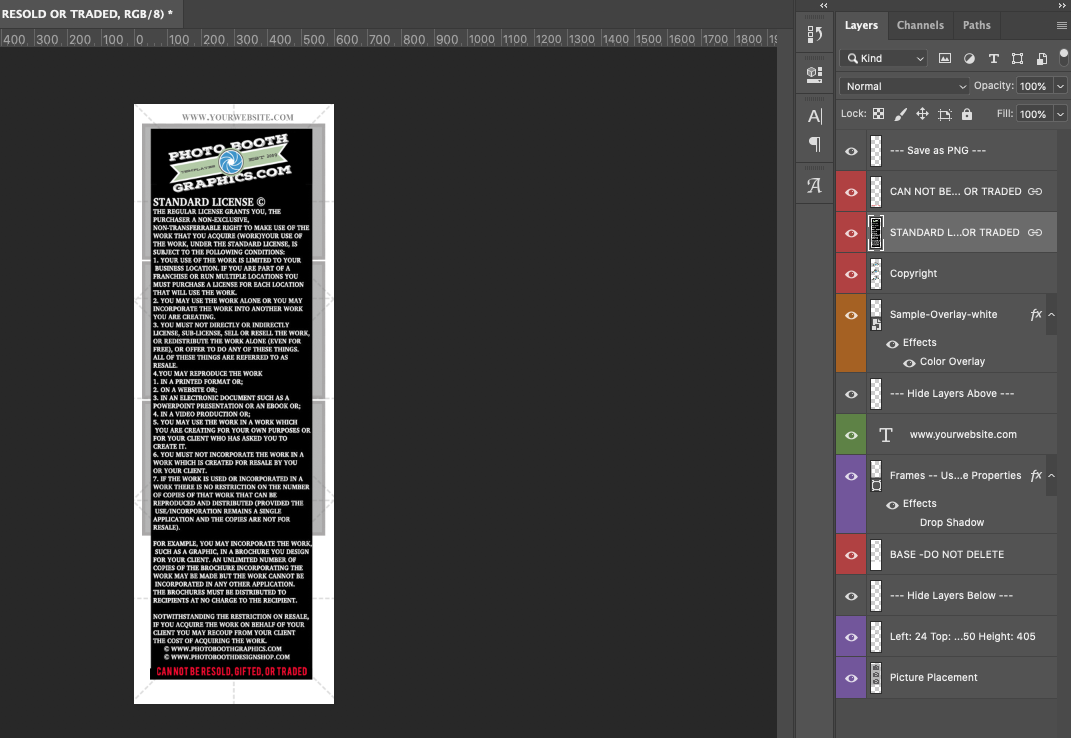
This is how your product will come before you get ready to prep your template.

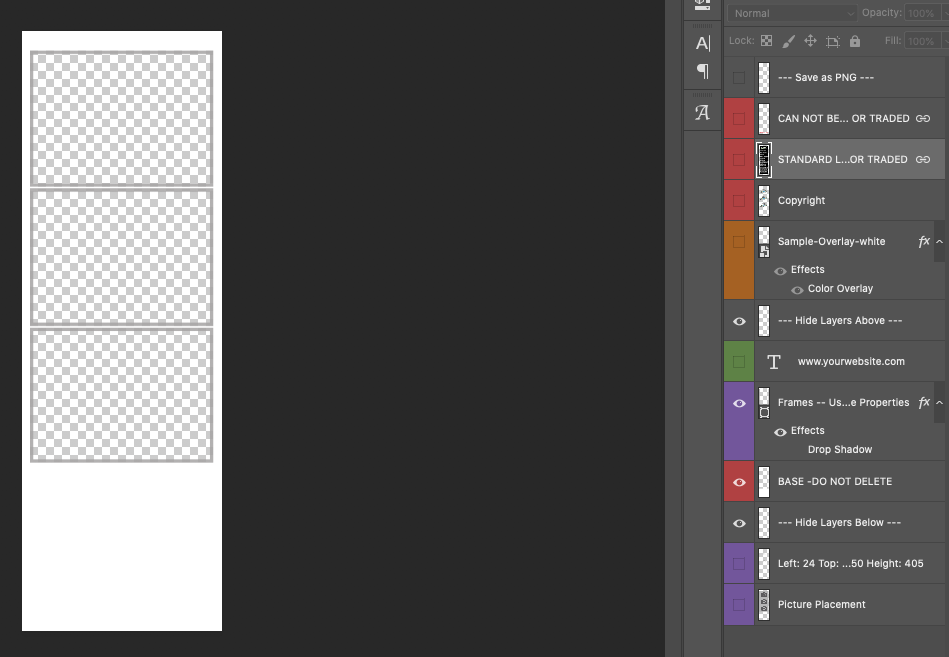
This is how it looks when you have the layers turned off.

This is what your final product should look like when completed. Make sure you have checkered boxes for the transparency. Save as a PNG. If the file is too big use tinypng.com to compress.