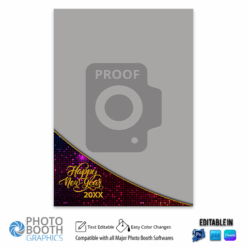
Editing in Canva Pro
You can now edit Photoshop (PSD) files in Canva! (Beta. Not fully functional yet.)
From the homepage
- Drag and drop your Illustrator or Photoshop design to the homepage.
- On the top corner of the homepage banner, click the Upload button. Drag your file to the Upload section or click on browse.
- On the side menu of the homepage, click Projects, and go to your Uploads.
- Drag your file to the page to upload it, or click on the Upload button.
Once done, click on the imported Illustrator or Photoshop design to open it in the Canva editor.
From the editor
- Drag and drop your Illustrator or Photoshop design to the editor.
- On the top corner of the editor, click on File > Upload a file.
- On the editor side panel, click on the Uploads tab, then click on Upload files.
- Select the files you want to upload or drag and drop them in the Uploads tab.
To use the file in your design, click on it from the Uploads tab in the editor side panel.
Designer Notes (11.22.23): Photoshop files must not be in folders/groups. Shapes will flatten with the blending options/layer styles. Depending on the effect used the shape or layer may not come across in Canva from Photoshop. If a clipping mask or layer mask is used the layer will be cut to the area of the mask.
Designer Notes (12.3.23): Further testing with Canva… shapes will not transfer over with these layer styles added: pattern overlays, bevel & emboss, or gradient overlay.
We still recommend using Adobe Photoshop or Photopea.com to fully edit the design. Otherwise, we do have a PNG overlay as is with the colors shown without any text. You can use the editor of your choice to add text, logos, or any other elements. Remember to save as an PNG.
Option 2: Textless PNG Included in Download
From the homepage
- Click on “Create a design“.
- Click on “Custom Size“.
- Enter in your canvas size. Depends on your software used.
- 4×6 is 1200 x 1800 px.
- 6×4 is 1800 x 1200 px.
- 2×6 is 600 x 1800 px
- Square is 1600 x 1600, 1080 x 1080, or 1072 x 1072.
- Video Portrait: 1080 x 1920.
- Video Landscape: 1920 x 1080
- Inch x 300 (dpi) = Pixel Count
- On the left tool bar, click the Upload button. Drag your file to the Upload files section or click on browse.
- Click and drag the overlay to fit the size of the canvas. (Note: With this process we can not guarantee the coordinates for the photos with this process.)
- On the left tool bar, click the Text button. Add your text box to the canvas.
Where to find your uploaded designs
- Select Projects from the homepage side panel.
- From the owner dropdown, select your name to view your projects or Any owner to view all projects.
- Select the Uploads folder where you can also download or delete them.
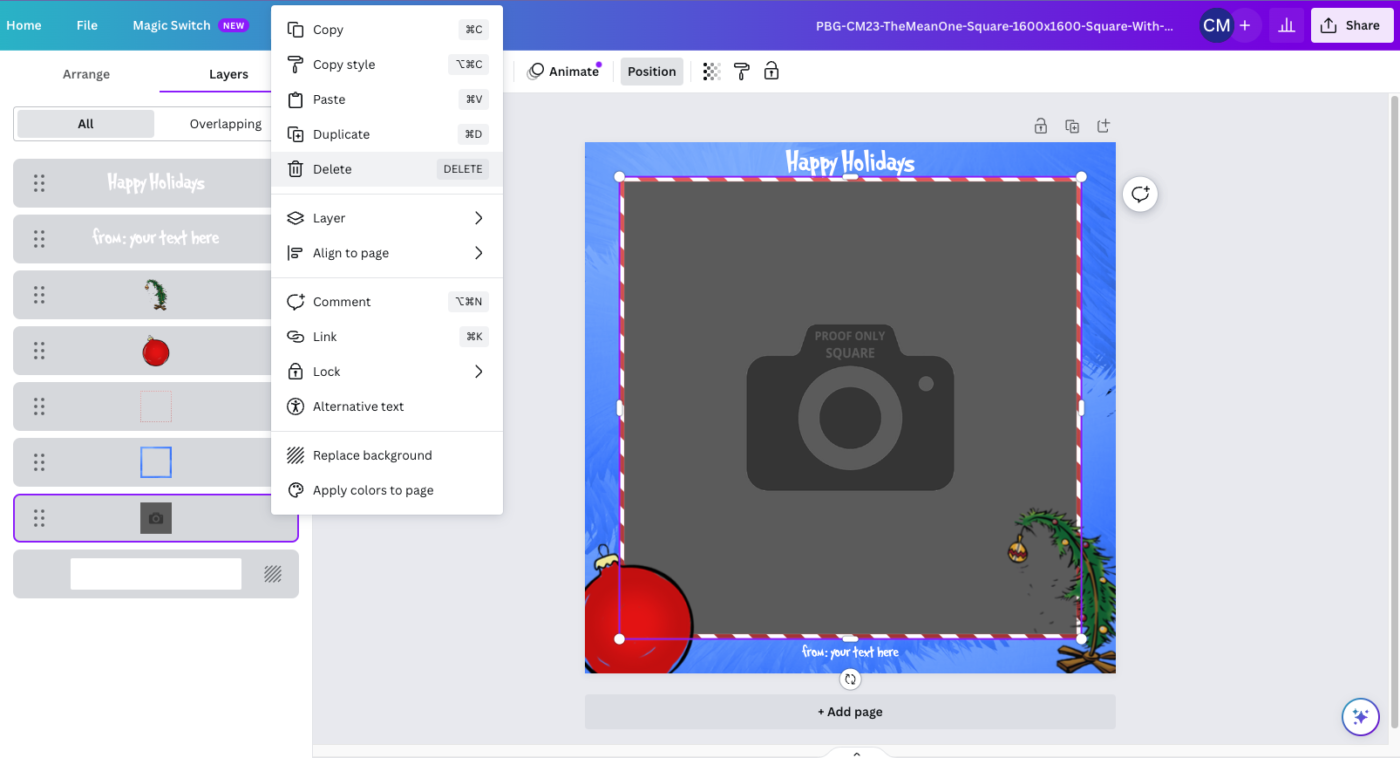
How to view Photoshop (PSD) Layers in Canva.
- Open the Photoshop file in Canva.
- Click on “Position”.
- Click on “Layers”
From here you can delete or move layers as you wish. You can select each layer to edit them. See below for fonts and colors.
Which Layers to remove
As of Nov. 21, 2023 the layers do not show naming or labels. You will have to eyeball it. Below is a list of layers we have you remove if you were using Adobe Photoshop
- Proof – Sample Lines (This is only a proof)
- Standard License
- Printer Safety Lines
- Coordinates
- Picture Placements
Fonts and Colors
Uploading Fonts into Canva
- In the download you will find a file named “Fonts – Download and install First.txt” or “Fonts.txt”. Open this file.
- Copy and paste the link into your browser.
- Download the fonts used.
- Extract the zip file and then follow the steps below.
Option 1
- From the homepage side panel, click Brand.
- Click the Brand Kit tab. If you have multiple Brand Kits, select one to customize.
- Under Brand fonts, click Upload a font.
- Select the file to upload, and click Open. Only upload fonts that you’re licensed to use. See section 4.2 of Canva’s Terms of Use for more details.
- Confirm and wait for the upload to finish. If your font doesn’t upload, check Canva’s article on Font upload errors.
Option 2
- Select the text on the canvas.
- Click the font list.
- Click Upload a font.
- You will find the font under “Uploaded Fonts”.
You must have Canva Pro.

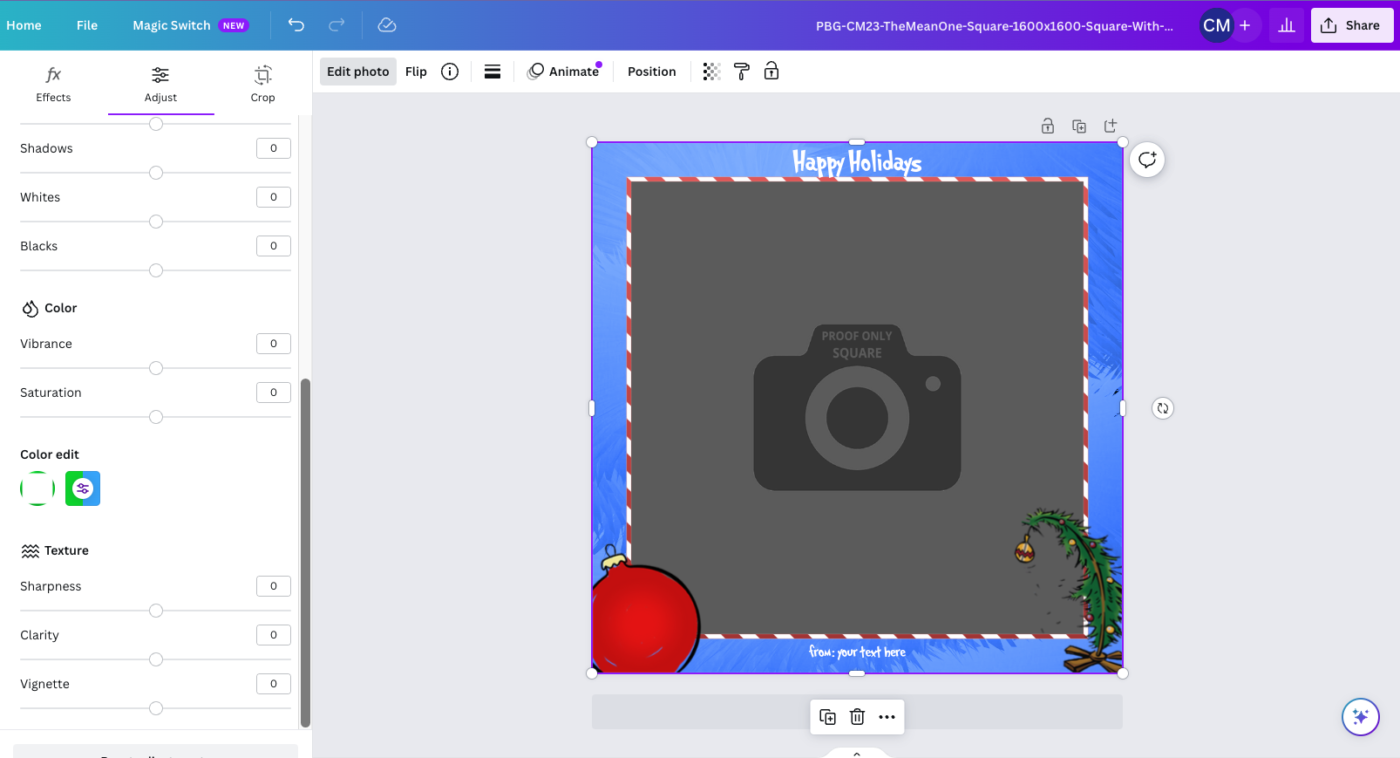
Editing colors in Canva
Photoshop uses rastered images. Canva isn’t ready yet to fully edit colors. However, you can use the Hue/Saturation layers in the editor to change colors on rastered images. We suggest using Photoshop or PhotoPea.com to make color changes.
- Find the layer you want to change the color.
- Click on “Edit Photo”.
- Cick on “Adjust”.
- Scroll down to the “color edit” and click on the colored box.
- Play with the Hue and Saturation layers to get your desired color.
Saving your overlay with transparency
On a computer
- Set your background color to white, or delete any existing background by selecting it and clicking the trash icon on the toolbar above the editor.
- On the editor menu bar, click Share.
- Click Download.
- From the File type dropdown, select PNG.
- If your design has multiple pages, select the ones you want to download from the dropdown, and click Done.
- Tick Transparent background.
- Click Download to finish.
On Mobile
- Set your background color to white, or delete any existing background by selecting it and tapping Delete on the toolbar below the editor.
- On the editor menu bar, tap Export.
- Tap Download.
- From the File type dropdown, select PNG.
- If your design has multiple pages, select the ones you want to download from the dropdown, and tap Done.
- Tick Transparent background.
- Tap Download to finish.
- Select where to save your design. If this step doesn’t appear, you can find your design in your device’s photo gallery.
Premade Templates & Animations Catalog